|
| Korg DW-8000, cleaned and up-and-running. |
Back in February of 2018 I wrote
this post about a new-old addition to the studio, a poorly Korg DW-8000. I got a good deal on it, but it was in need of some work; to whit: the internal battery needed replacing, some of the buttons weren't very responsive, the keyboard 'action' was quite horrible (and felt like it was bunged up with grit), and the synth was generally filthy. Indeed, since purchasing it, I refrained from programming any sounds because of the battery issue and sticky buttons that turned saving patches into Russian Roulette.
Today, I'm pleased to announce that all the issues listed above have been addressed, to the best of my abilities. There wasn't a lot I could do to improve the key-bed, but I've at least cleaned and re-felted it.
What follows is an illustrated tour. Perhaps it will help you service your own DW-8000 some day. I found the following links indispensable during the process:
Korg DW-8000 battery replacment @ pallium.com and
this thread on Gearslutz.com about disassembling the keybed.
First I opened it up. Several screws (and two rubber feet) are missing from the bottom of my DW-8000 so there aren't as many screws to remove as there ought to be! I found it helpful to draw a map of where they go. I didn't do this with the internal screws, although I probably should have: instead opting to keep them grouped in separate containers.
It soon became apparent that to effect all my repairs I'd have to completely separate the two halves of the synth. This required unplugging approx. ten connectors connecting the lower circuit-boards to the upper, and unscrewing the power button/connector mount. The circuit-board with the backup battery attached was then completely removed so I could de-solder the old battery and fit a battery holder. If I'd given it more thought, I'd have extended the leads of the battery holder so that I could hot-glue it to the chassis. I made do with zip-tying it to one of the wire bundles.
 |
| The bottom-half, separated. The board with the battery is the center one. |
 |
| Replacement battery holder (photo taken after reassembly). |
Next I tackled the buttons or 'tact switches'. To get to these I had to remove all the circuit boards and key-bed from the upper half of the synth (being careful to use an anti-static bag where necessary, and wear a grounding strap). The task was a little daunting, to say the least, but it also allowed me to give the plastic casing of the synth a proper clean. I started with undiluted Mr. Clean on a damp cloth, and was not surprised to see it remove copious amounts of brown tobacco residue. The casing was then rinsed thoroughly outdoors (inside and out) with the garden sprayer to remove cleaner residue and dust from crevices.
 |
| Outer casing after cleaning. |
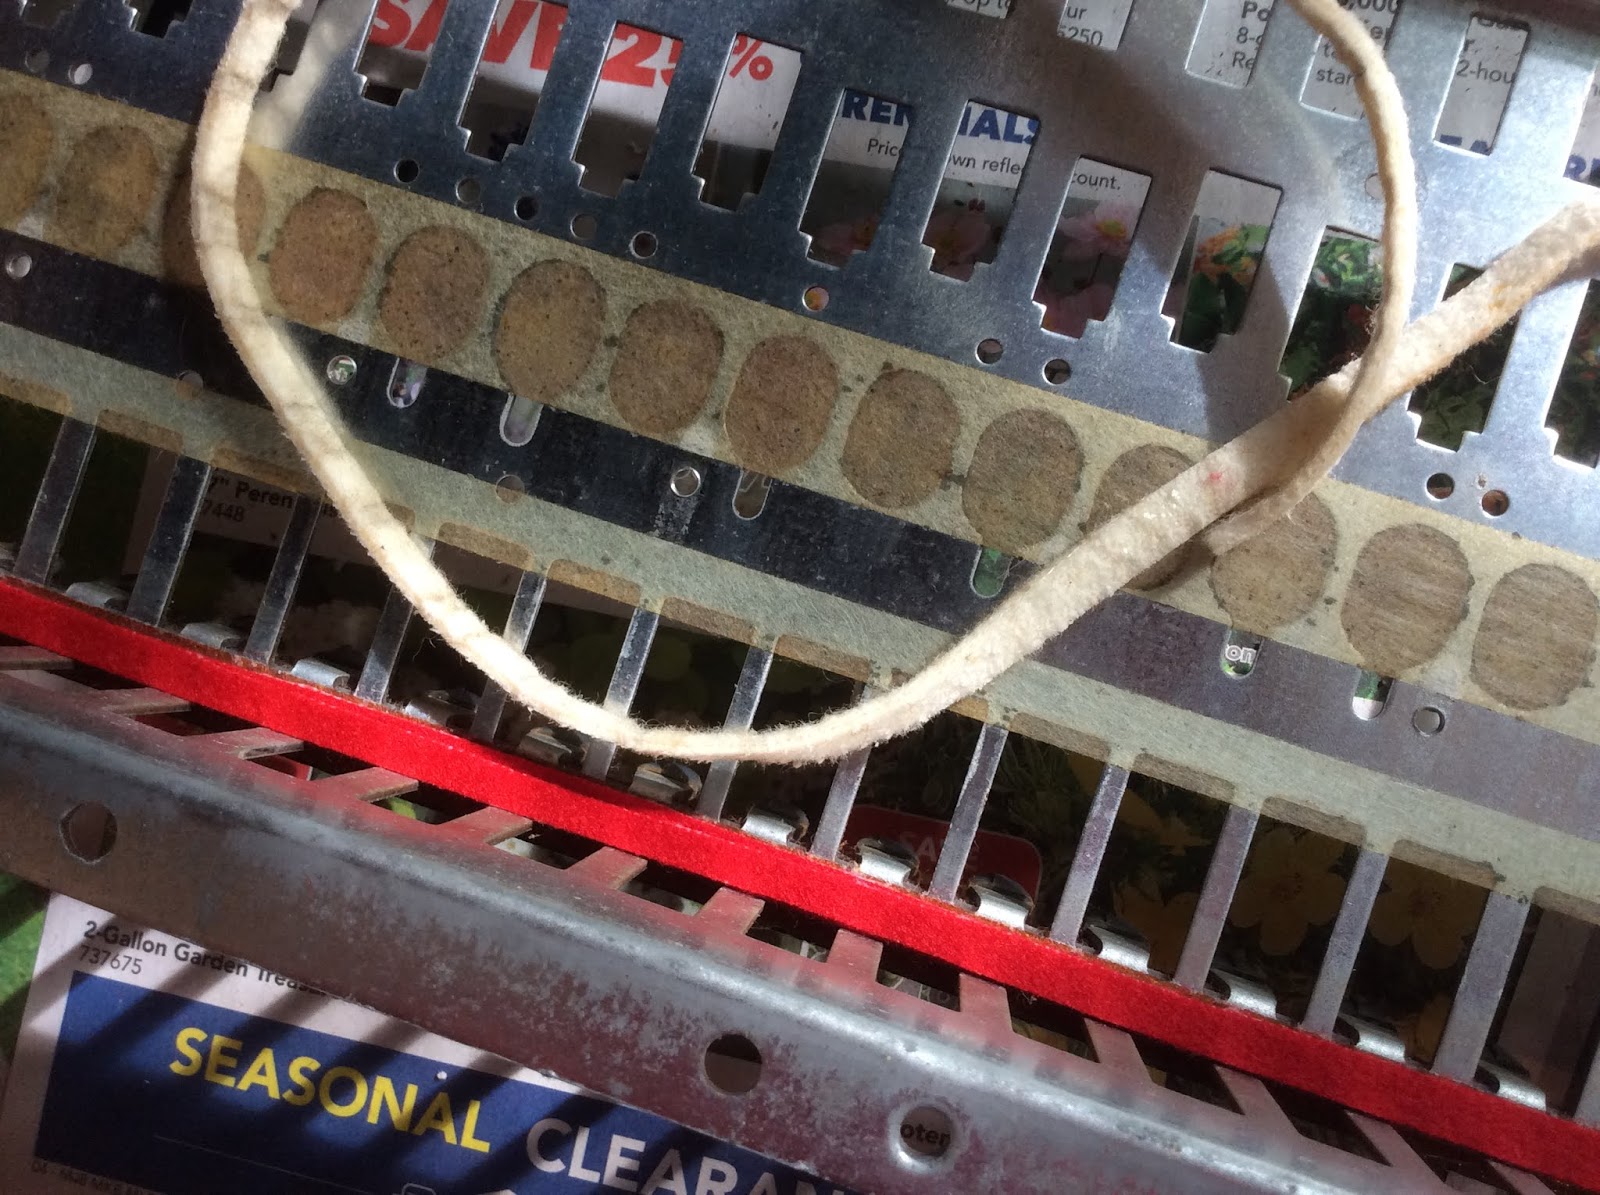
Now having access to the switches, I could go about cleaning them. I wasn't game to remove the proprietary caps, and thankfully it wasn't necessary. If you're gentle with the pressure, you can carefully drip DeOxit D5 into the hairline gap where the two moving parts of the switch meet. The trick is then to work the switch a bunch of times, and drip a little more as you go. Don't be afraid if it dribbles onto the circuit-board. It took a few passes to completely swab it away when I was done, and I turned the boards upside down for a while to let any excess drip away. As an added bonus, the excess liquid helped remove more tobacco residue from the circuit boards. The four sliders were also treated, with DeOxit FaderLube.
 |
| The innards removed, tact-switches exposed. | | | |
|
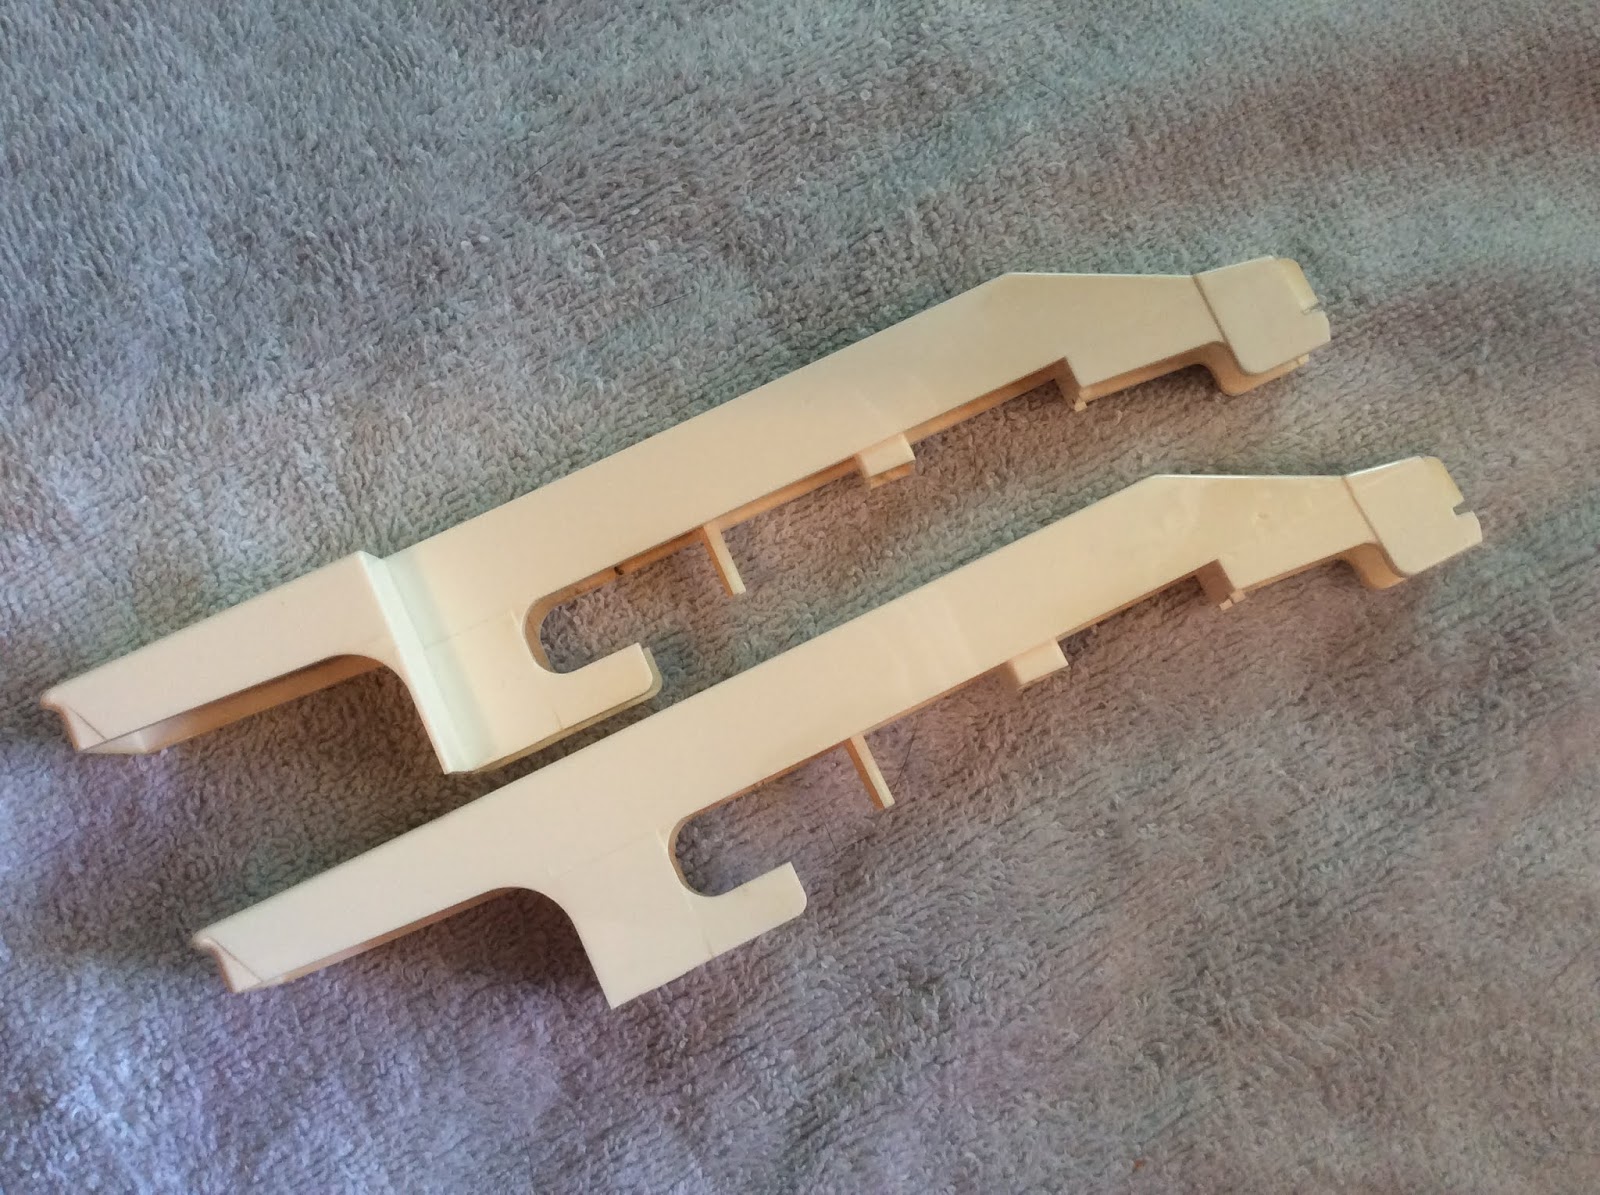
Next I worked on the key-bed. Every key was removed from the frame. I found it easiest to turn it upside down for this step, removing white keys first, then black. If you wiggle a small flat-head screwdriver between the prongs where the key hinges while pulling the key towards you it will loosen its grip and the key will drop out (oftentimes a little push on the clamping part helps it along). This way the little spring clip that holds the key in place drops into the body of the key when you remove it, making it easy to retrieve. The clamping prongs have long been broken on three of the keys, and there's not much I can do about that beyond replacing the keys altogether. Perhaps another time. They still work but are just a little wonky. I somehow managed to snap one of the struts that presses down on the key contacts while removing one key, and repaired it with epoxy and a piece of paperclip for reinforcement. It amazes me that a part so integral to the working of the keyboard is relatively thin and easily breakable, compared to the rest of the key.
 |
| Removing the keys. |
|
|
 |
| Keys removed. |
Each key was individually washed, in a solution of Mr. Clean and hot water, then rinsed in plain hot water and dried. This took about an hour, but was worth it. The keys were absolutely filthy: the sides felt like sticky sandpaper.
 |
| Brown! |
 |
| After cleaning. |
The metal frame was similarly grubby. Dirt, detritus, the ubiquitous tobacco goo, and quite a bit of rust was caked on it. I also gave it a wipe down and hit it with a bit of compressed air.
 |
| The initial state of the keyboard frame. The brown lines correspond to gaps in the keys. |
|
Before reassembly, I replaced the action felt underneath the key-bed. I was keen to replace the top layer, too, but as there's a conductive strip underneath for controlling aftertouch, as well as a layer of some sort of rubber, I left it as-is. The felt I ordered turned out to be half the thickness of the original, so I cut it in half and doubled it. The action is still not amazing, but just having clean keys makes it so much nicer.
 |
| New felt. |
|
 |
| New felt vs. old felt. |
|
I addressed the cigarette burns in the two very top keys (see the
previous DW-8000 post) by carefully shaving the lumps down with a Stanley knife and hitting them with a bit of fine-grit sandpaper (masking off with tape first). They're not 100%, but most of the deformation and discoloration is gone and they're much nicer to look at.
 |
| Treated cigarette burn. |
Each key contact has a little rubber pad that the key presses down on. These were covered in gunk, but as their function is mechanical rather than electrical, it wasn't necessary to clean them. In the interest of being thorough, I gave them a swab with some distilled water. I cleaned the rest of the contact assembly circuit-board while I was at it, at least to get the worst of the gunk off.
 |
| Key contact assembly: note gunk on black rubber pads and black specks on circuit board. |
 |
| Not perfect, but here's how it came up after swabbing. |
Last but not least, it was time to put everything back together. The key-bed was reassembled in reverse order: black keys first, then white; aftertouch board reattached, all circuit-boards re-housed in casing, key-bed re-seated, and finally the connectors plugged back into the lower half of the keyboard, battery installed, and everything screwed back together.
 |
| Circuit-boards going back in. |
 |
| Key-bed reassembly. |
 |
| Reinstalling the key clips. I recommend wearing gloves to spare your fingers! |
 |
| Key-bed reassembled. |
|
 |
| Ready to reattach connectors. Note the labels so I could get them back in the right spot! |
|
|
|
With everything back together, came the moment of truth. Does it still work? Were my improvements a success? Thankfully, yes on both counts. It powered on with no issues. Without the presets loaded into memory, it made a pitch drop sound upon pressing a key. I sampled this sound on middle C, C2 and C1 for posterity. I'll be providing free downloads via freesound.org in a future edit of this post.
The Korg DW-8000 is equipped with MIDI, but I was unable to find the Bank A factory presets in sysex format anywhere on the web. However, an audio file in machine language can be found
here, and was successfully loaded via the tape data input.
I'll leave you with this short video: factory program number 77 proving a successful re-loading of the factory presets and fully functioning unit!