Once I have the raw recordings transferred from the Zoom H1 to my hard drive, it's time to edit them. Because I record a lot of sounds these days, I've made it a habit to announce what I'm recording at the beginning of each file. Before I started doing this I had trouble keeping track - especially if I didn't get around to editing files right away.

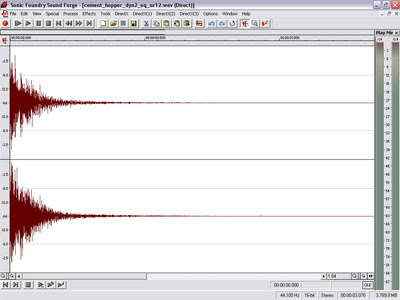
Step 1: I load the raw file into Sound Forge, my audio-editor of choice. I then trim the ends a tiny bit to remove the click noises produced by the Zoom's record button. When recording, I take special care to make sure the audio doesn't 'peak' (a techy term for overloading the mic, resulting in a distorted recording). As a result, the raw recording is often very quiet. So I normalise (increase the volume of) the file to 98% (2% below 0db or maximum).
Step 2: I remove any rumble from the recording if it requires it. Some of the lower bass frequencies can muddy a recording, so as a rule of thumb I EQ out anything below 80hz, which is about as low as the human ear can hear. If there's traffic noise in the background or particularly troublesome bass frequencies I'll go as high as 225hz. Mild wind noise can sometimes be scrubbed out in this manner too.
Step 3: Dynamics/compression. Oftentimes with digital recording the sound you capture is but a shadow of what was heard at the time. Compression allows an increase in volume while preventing the high peaks (the parts of the sound that have hit the 98% volume ceiling) from distorting. It also lifts subtleties such as ringing sustains, reverb, etc... that are naturally present but too quiet to discern in the recording's raw state. The downside to this process is it makes the background noise louder as well. But luckily there's a secret weapon to deal with that in step 4. Compression works best for very loud sounds, such as metallic objects being struck. Softer sounds, such as birdsong and streams, etc... are usually left as-is.

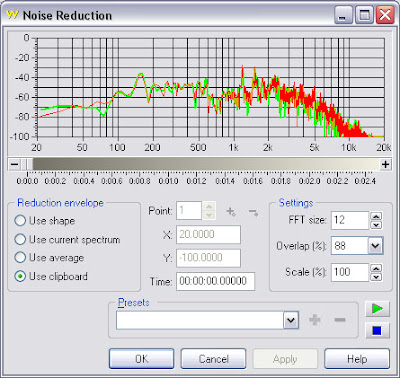
Step 4: Noise reduction. Once I have my file optimised for volume, it's time to scrub out some of the annoying background noise. I use a program called Goldwave for this. Its noise reduction filter allows you to feed in a sample of the unwanted background noise and magically scrub those frequencies from the recording. It requires some restraint, though, because being heavy-handed with this feature can harm the recording rather than improve it. I listen carefully to each file and adjust the settings to reach a natural-sounding balance. In some cases I'll apply a preset called 'gentle hiss/rumble reduction' if noise reduction affects the sound too much. Unless the sound is too problematic to clean (in which case I fall back on some extra EQ or discard it) the end result is a nice clean-sounding file.
Step 5: The final step is to load the cleaned file back into Sound Forge for final editing. I cut out parts of the file that have microphone or wind noise, or other unwanted sounds that haven't been completely removed by the scrubbing process. This is also when I cut files containing multiple takes into single pieces or 'one-shots.' These can then be used as-is, or loaded into a sampler and played as an instrument.
I've worked with these techniques on and off over the years, but this is the first year I've combined them as an archival process. I'm learning things all the time about how certain sounds respond: how much compression to use here, and how much noise-reduction to use there. There's still no substitute for capturing the cleanest sound possible in the first place, but when you're at the mercy of a noise-polluted environment or a sudden gust of wind, a little software can do wonders.
No comments:
Post a Comment